There are two main ways to use Windows on a Macbook: install Windows alongside macOS via Boot Camp, or create a Windows virtual machine using Parallels Desktop, VirtualBox or other virtualization software. Installation via Boot Camp may be preferable if you need to run resource-extensive Windows programs, for example latest 3D games, and if you don’t want to spend extra money on virtualization apps. You will still need to purchase a Windows product key, however. Using Boot Camp is better for performance because only one operating system is running at the time, while with virtual machines your Mac’s resources are split between macOS and Windows. This article will guide you step by step through downloading and installing Windows 10 (or another version) via Boot Camp.
How to Install Windows on a Macbook With Boot Camp
Note 1: Before starting make sure that you have 64 GB of free space on your Mac at the very least, preferably 128 GB or more. To do that click on the Apple logo in the top-left corner, then select About this Mac from the menu. Click on Storage tab and see how much memory is available.
Note 2: If you have an older Macbook (see here for more details), you will also need a 16 GB flash drive, and the instructions will be somewhat different; we don’t cover them in this guide.
Download Windows ISO file
- Go to Microsoft’s Windows 10 disk image download page.
- Select Windows 10 from the drop-down menu and click Confirm.

- Select preferred language from the next drop-down menu and click Confirm.
- You will be offered to download a 32-bit or a 64-bit version of Windows 10. Unless your Mac is more than 10 years old, select 64-bit.
- Save the file.

Run Boot Camp Assistant
- Start Boot Camp Assistant (Finder => Applications => Utilities).
- Backup your disk like Boot Camp advises you to and click Continue.
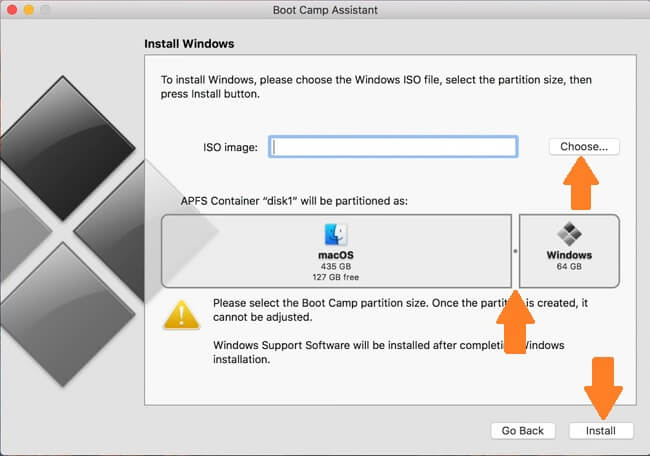
- Select the ISO file that you’ve downloaded.
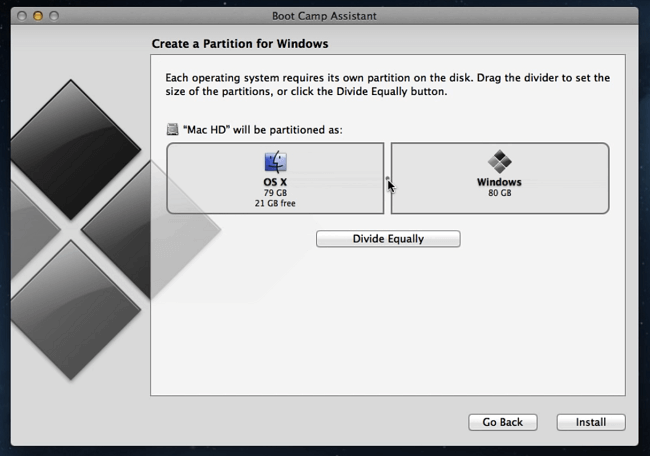
- Choose sizes of macOS and Windows partitions (how much space you will leave for macOS and how much you will allow Windows to have) by moving the slider. Click Install.
- Enter your Mac password when prompted. The computer will restart.
Install Windows
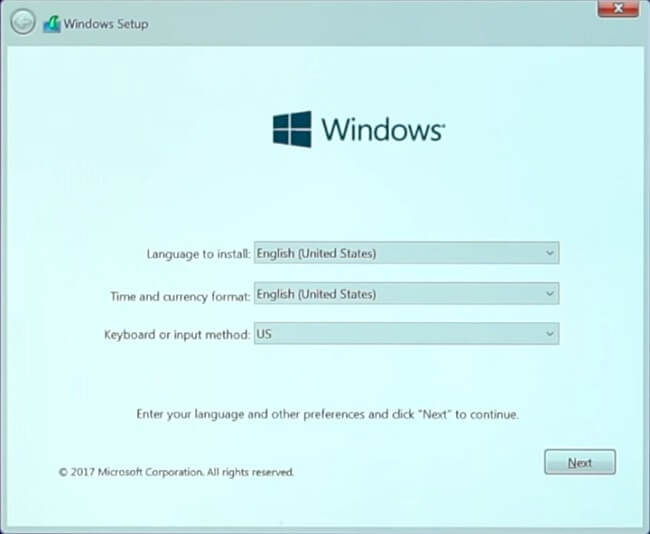
- Choose your preferred language, time and currency formats and keyboard or input method. Click Next.
- Enter Windows license key to activate Windows and click Next. If you don’t have it right now, click I don’t have a product key.
- Select which operating system you wish to install (Windows 10 Home will do if you are getting Windows for your personal use) and click Next.
- Accept license terms and click Next.
- Wait until the installation is complete.
Finish installing Windows
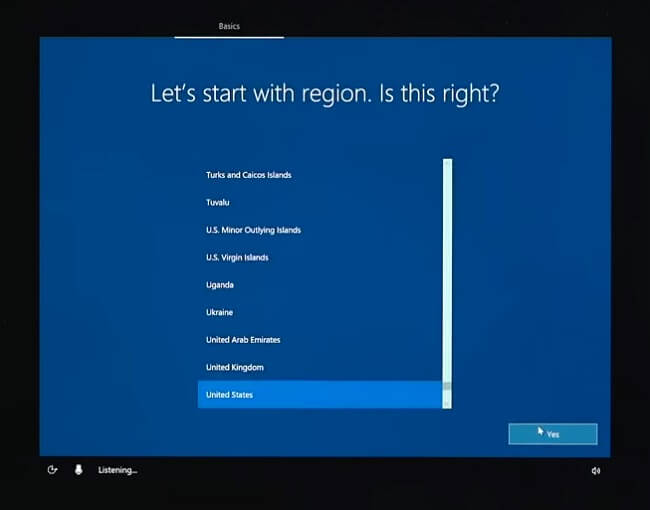
- Confirm your region and click Yes.
- Confirm your preferred keyboard layout and click Yes.
- Select a second keyboard layout if you want.
- Select which network to connect to or click I don’t have Internet in the bottom-left corner.
- Wait until the setup is finished.
- Select if you install Windows for personal use or for an organization and click Next.
- Enter your Microsoft credentials or, if you don’t have a Microsoft account and don’t wish to create one right now, select Offline account in the bottom-left corner and then Limited experience in the bottom-left corner. Proceed to create an offline account.
- Decide if you want to have a digital assistant (Cortana) and adjust privacy settings.
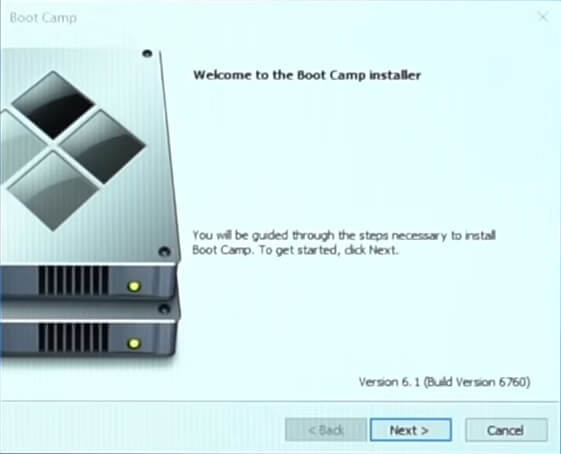
Install Windows drivers
- After Windows started up you will see an open Boot Camp program.
- To finish Windows setup click Next, accept license agreement and click Install.
- When the process is complete, click Finish. The system will restart.
That’s it, now you have both macOS and Windows on your Macbook. To switch between the operating systems restart your Mac and press and hold alt (option) on your keyboard. You will get to choose which OS to start now.